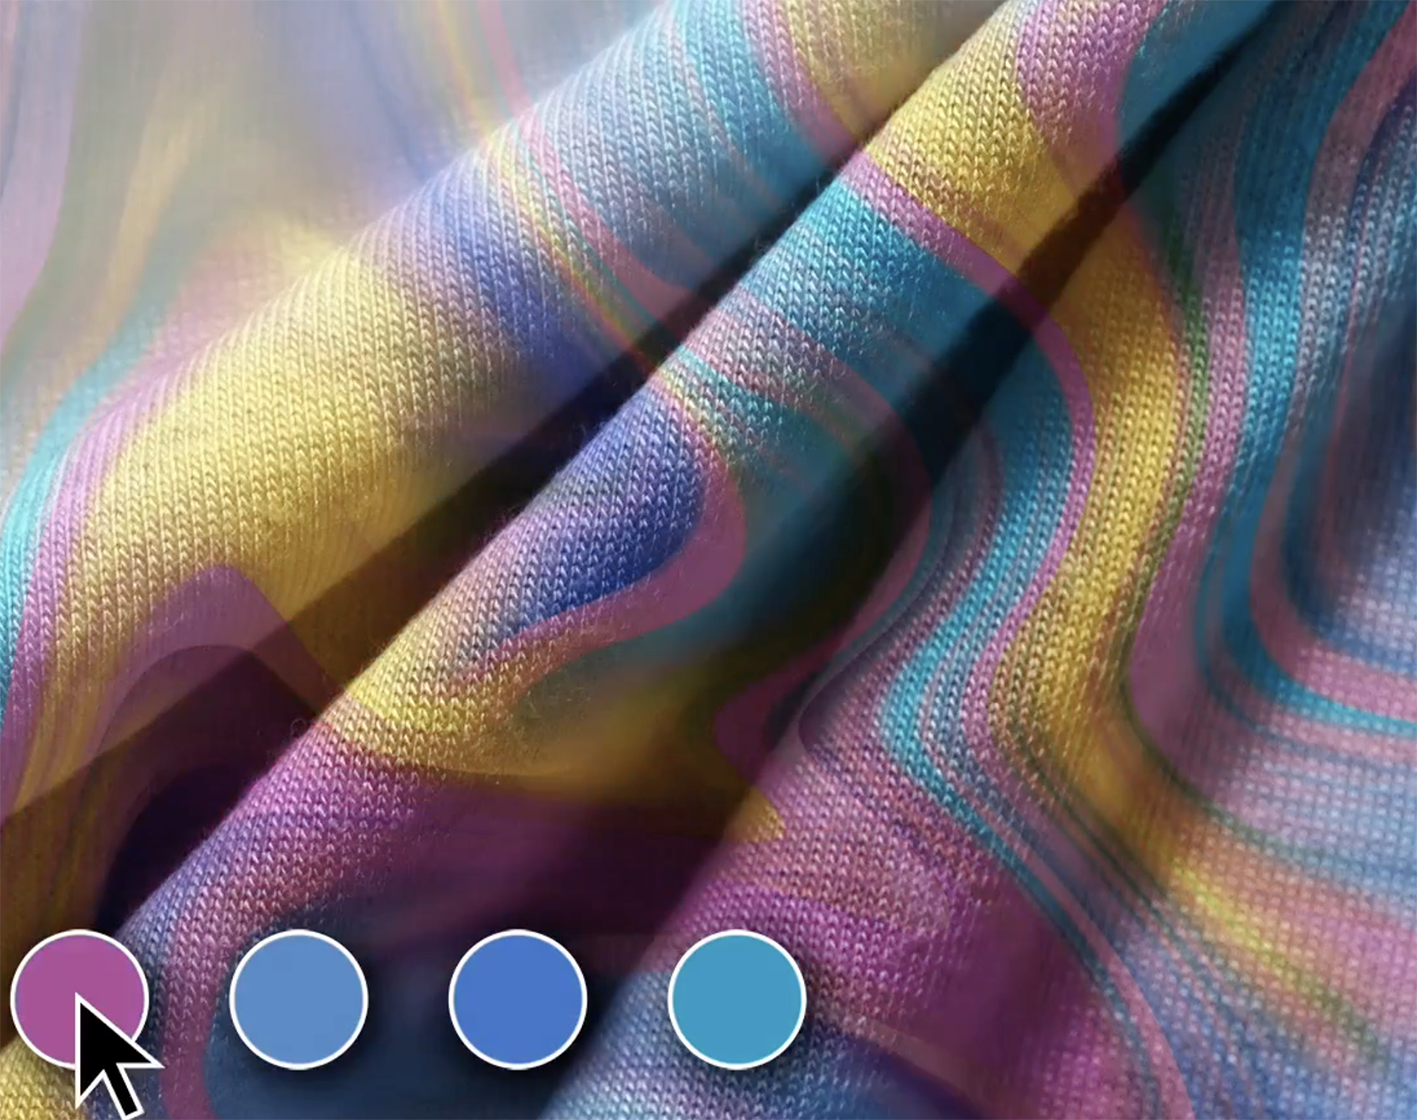
Colour Separation: The Craft Digital Textile Design Shouldn’t Forget
Textile designer Stephan Alker draws on more than 40 years in the industry, going back to his start at Transfertex in 1980, to trace how colour separation moved from drum scanners, hand-retouched films and engraved gravure cylinders to fully digital workflows.
He argues that this production knowledge still matters in the age of digital printing, because properly separated designs give brands far more freedom.
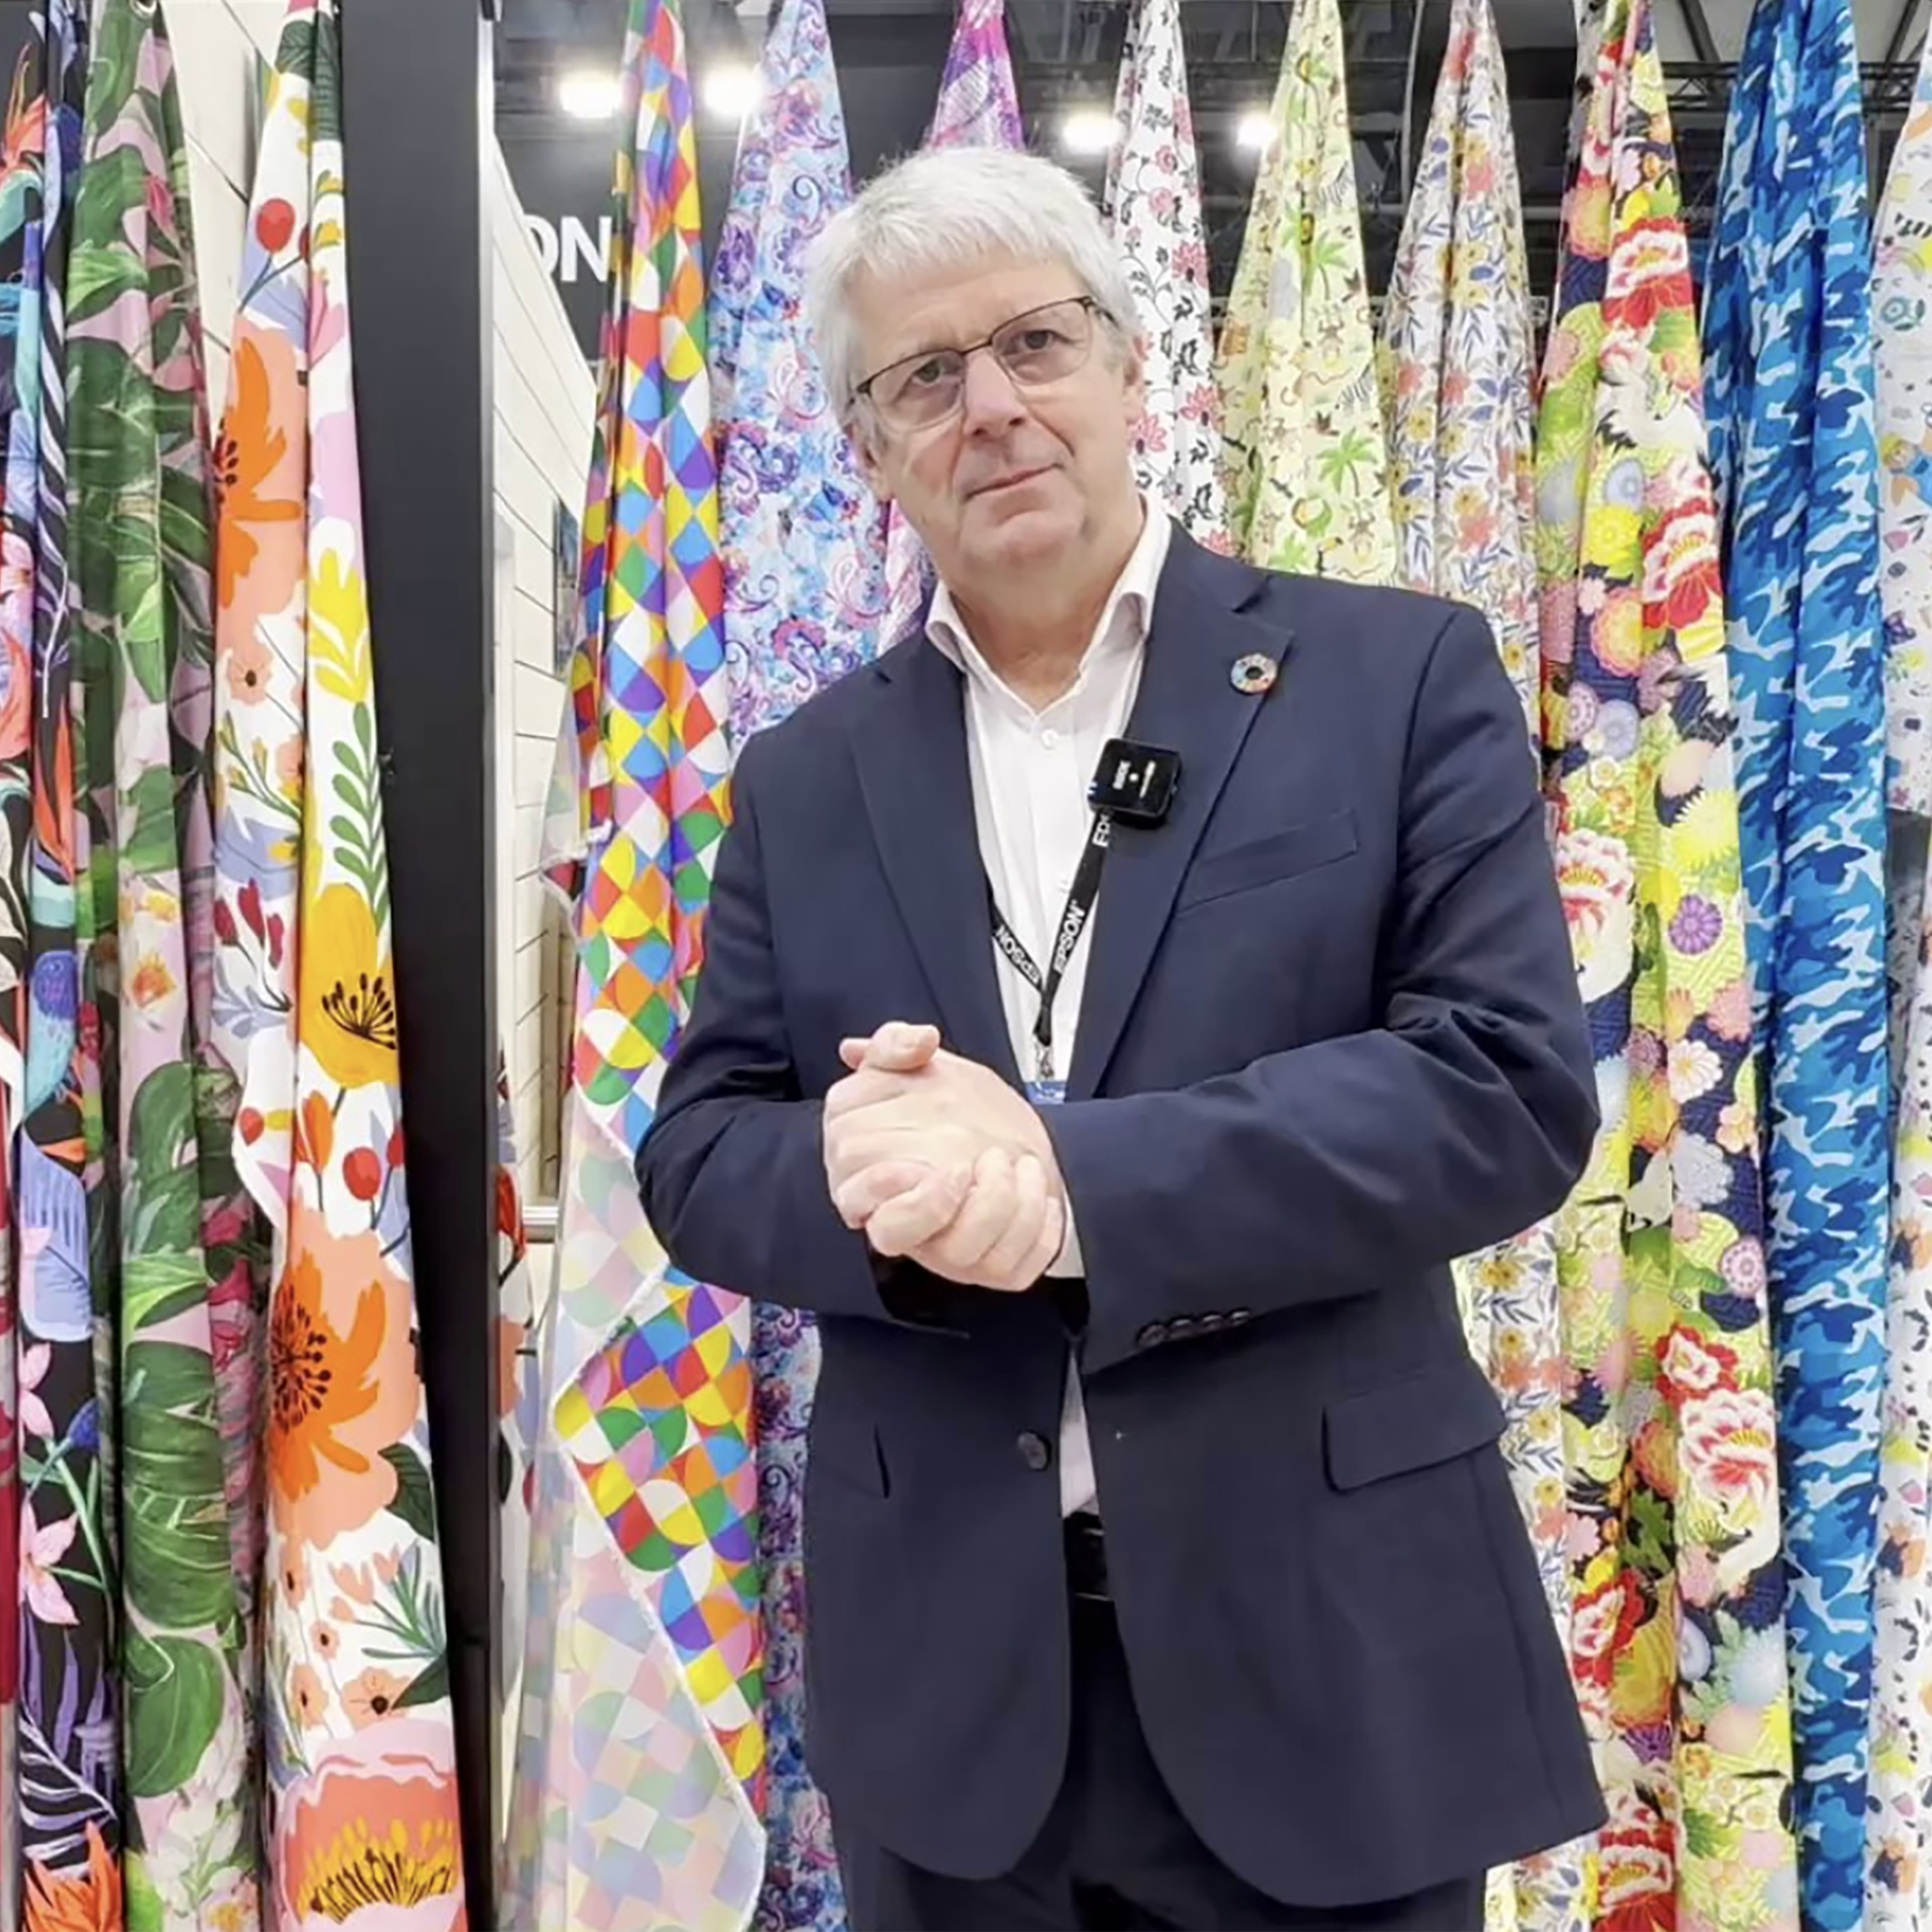
WRITTEN BY Stephan Alker - Textile Designer and founder of LYTEXA
1980 – My Journey into the Textile World: began in 1980 at Transfertex, a transfer printing company in Kleinostheim, Germany.
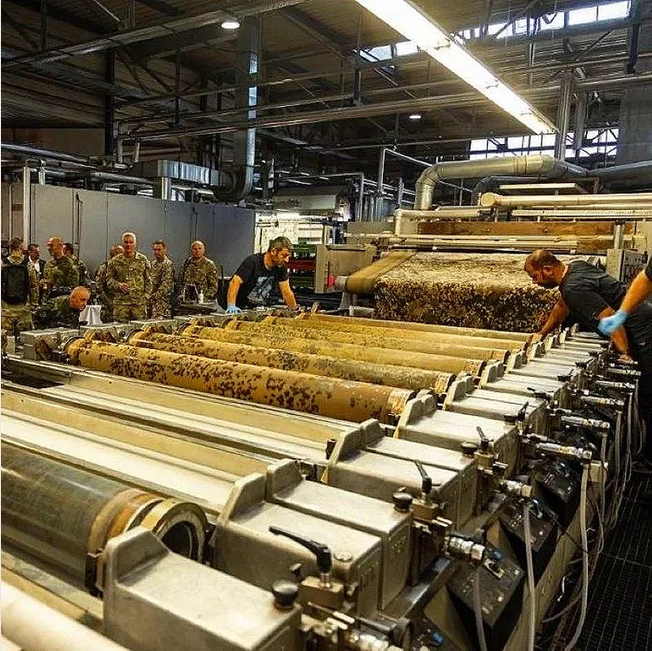
The company produced transfer printing paper for customers around the world. Printing was carried out using rotary gravure presses with engraved printing cylinders. The designs were used for home textiles, fashion, decoration and technical applications.
Back then, the journey from the original artwork to the finished printed transfer paper was long, technically demanding and extremely expensive. Every single step required experience, precision and a thorough understanding of the printing process that would follow.
From the Original Artwork to Six Color Separations
The first step was to select a maximum of six spot colors that, together with their overlaps and mixtures, would reproduce the original design as accurately as possible.
A transparent sheet was placed over the artwork. For each spot color, several characteristic areas were marked, representing a light tone, a medium tone and a solid color. Next to these markings, the desired grayscale values were noted. These were the values that the subsequent separations were supposed to achieve. These instructions formed the basis for the scanner operator's work. Using a Hell Chromograph drum scanner, the operator had to produce six halftone films. The grayscale values at the previously marked positions had to match the specified values as closely as possible.
To achieve this, the original artwork was mounted on one drum. On a second drum, the operator attached an unexposed film under red safelight conditions and closed the drum to make it lightproof.After carefully adjusting the scanner, the exposure process began. Once completed, the film was removed and processed in a developing machine. The entire procedure was repeated for each of the six spot colors. Only then were the halftone films ready for further processing in the reproduction department.
Right from the beginning, all films were punched with registration holes and mounted on registration bars. This ensured that the individual color separations remained perfectly aligned throughout the following stages.
The Craftsmanship of the Reproduction Department
In the reproduction department, most of the work was carried out on illuminated light tables.
This was where the repeat mask, defining the exact area of the design to be repeated, and the solid-color masks for the individual spot colors were created. The work involved manual tonal corrections using brushes and Keilitz retouching paint, as well as photographic exposure techniques to adjust the halftone films. One particularly time-consuming task was creating the slight overlaps between adjacent colors, a technique known as trapping. Where motifs had clearly defined edges, neighboring color areas needed to overlap slightly to compensate for possible registration inaccuracies during rotary printing.
To achieve this, the contours of the motifs were manually extended by approximately 0.1 to 0.15 millimeters. These tiny areas were carefully retouched with brushes and Keilitz paint. A mask produced through controlled overexposure precisely limited the overlapping areas. This required an exceptionally steady hand and a great deal of experience. Even the smallest inaccuracies could become visible in the final print. At the end of this stage, we had six corrected halftone films with their corresponding solid-color motif masks, along with a common repeat mask.
The Misomex Step & Repeat Process
With the separations completed, the next stage could begin.
A Misomex Step & Repeat machine transferred the individual separations onto special opal films, which would later serve as the originals for engraving the printing cylinders.The exposure positions were controlled by a punched card specially prepared for the repeat dimensions of the design. The halftone film for one separation, together with its repeat mask, was mounted in the moving section of the machine. During exposure, the unit moved through several precisely defined positions, transferring the design four times onto the opal film underneath. This process had to be repeated for all six separations. The finished opal films reproduced the tonal values of the individual color separations as positive images.
After exposure, they were returned to the reproduction department for final inspection. Only after careful checking and, where necessary, a few additional corrections were they approved for cylinder engraving.
From Halftone Film to Engraved Printing Cylinder
Electromechanical engraving was another fascinating stage of the process.
The opal film was mounted on a drum inside the engraving machine. An optical scanning unit read the tonal values and transferred this information synchronously to a copper-plated printing cylinder. A diamond stylus engraved tiny recesses, known as cells, into the copper surface. Light tones produced smaller, shallower cells that would later hold only a small amount of printing ink. Darker tones were represented by larger, deeper cells capable of carrying more ink.
The repeat was incorporated directly into the engraving process using the previously defined repeat dimensions. After engraving, the cylinders were chrome-plated to make their surfaces more resistant to the mechanical stresses of printing. For a design using six spot colors, six separate printing cylinders had to be produced.
Only Then Could We Start Printing
After all these stages, the six engraved cylinders finally reached the proof-printing department.
The proofing machine could accommodate only one printing cylinder at a time. The transfer paper was stretched around a large drum with a circumference of five meters. First, the initial printing cylinder was installed, and the first spot color was printed onto the paper. The cylinder was then removed and replaced with the next one. Using an optical eyepiece, each new cylinder was positioned with extreme precision in relation to the image already printed on the paper, ensuring that the colors registered as accurately as possible.
This procedure was repeated for all six spot colors. Only after six consecutive printing passes could we finally see the complete multicolored design on the transfer paper. But even then, we still hadn't seen the final result. The printed image first had to be transferred onto a suitable fabric using a heat transfer press. Only then could the finished design be properly evaluated on the textile itself. From the first piece of artwork to this moment, an extraordinary number of highly specialized operations had been necessary.
For designers who have only ever worked in the digital world, this amount of effort must be almost unimaginable today. Above all, every stage had to be carried out as accurately as possible. Corrections could mean producing new films, modifying engravings or even manufacturing entirely new printing cylinders. Mistakes were expensive. This created a working culture in which precision, technical understanding and thinking several steps ahead were essential.
The Digital Revolution
In the late 1980s and early 1990s, this working environment began to change fundamentally.
At Transfertex, electronic image-processing systems started to arrive. Among them were Silicon Graphics workstations running software from Barco Graphics.The first systems were enormous. Some of the equipment was almost the size of a wardrobe, and the prices were just as impressive. A single workstation could cost around 500,000 DM. Not long afterwards, we received a Silicon Graphics Indigo. Compared with its predecessors, it was tiny. To me, it looked more like a coffee machine. In fact, there was even a coffee machine made in a very similar housing. At around 50,000 DM, this workstation cost only a fraction of the earlier systems. What a development!
Soon afterwards, the first Apple computers arrived. They were considerably less expensive again and offered possibilities that would have been almost impossible to imagine only a few years earlier. It was an incredibly exciting time.
When the Films Disappeared
Electronic image processing changed much more than the speed of our work. It transformed the entire production process.
Color separations could now be edited digitally, and the corresponding data could be transferred directly to the engraving systems. Drum scanners, halftone films, light tables and Misomex machines gradually lost their importance. Tasks that had previously required numerous workstations and highly specialized employees could now largely be carried out on a computer screen. Adobe Photoshop became an important standard tool at Transfertex for textile design development and color separation. Later, specialized software from the Spanish company Inèdit complemented our workflow, particularly for repeat creation and separation.
I was fascinated by these new possibilities from the very beginning. So fascinated, in fact, that I bought myself an Apple computer to experiment with the technology outside working hours. I wanted to understand how existing workflows could be simplified, improved or perhaps even completely rethought.
From the mid-1990s onwards, I was able to introduce many of these experiences into my daily work at Transfertex. For me, digital technology was never just about working faster. Above all, it opened up entirely new creative possibilities.
What We Gained – and What We Are Gradually Losing
Digital textile printing has fundamentally changed our industry.
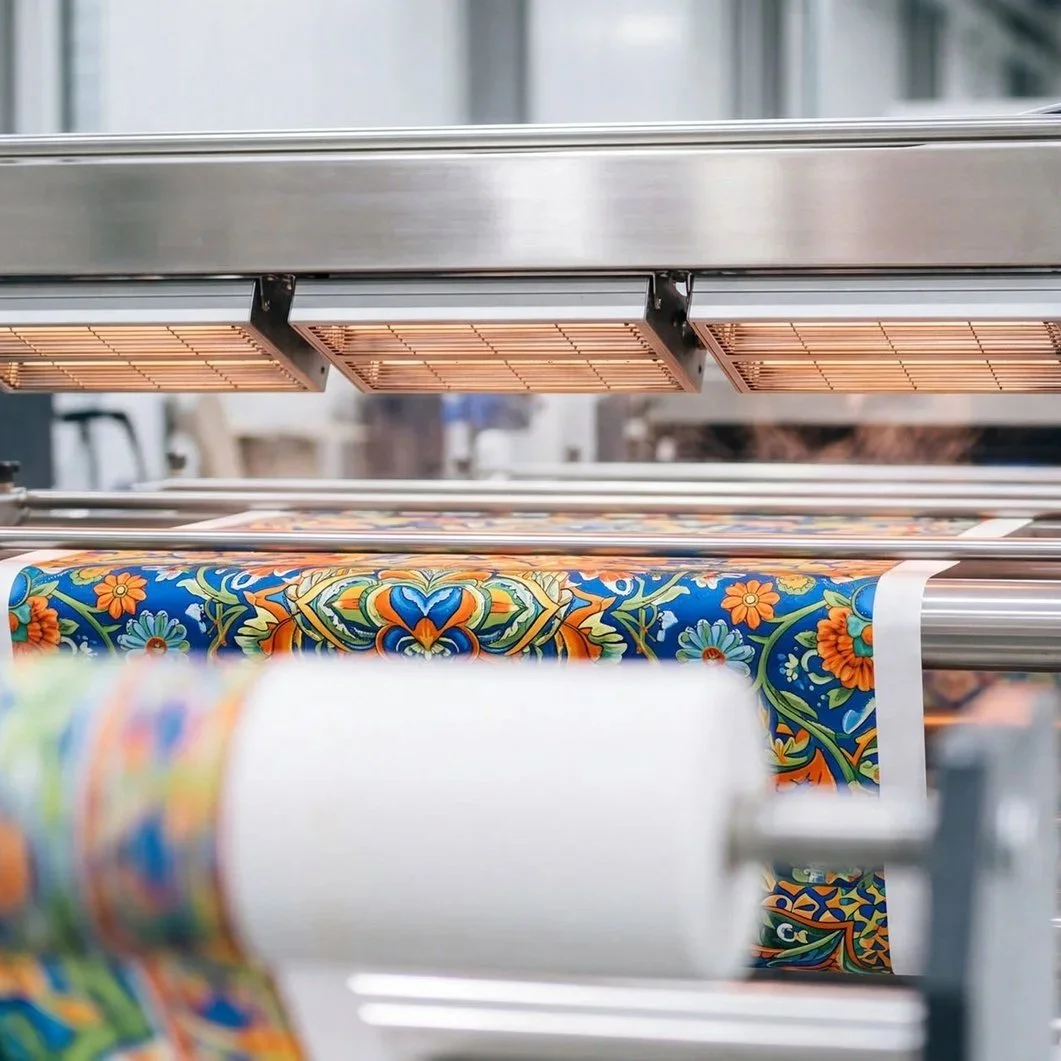
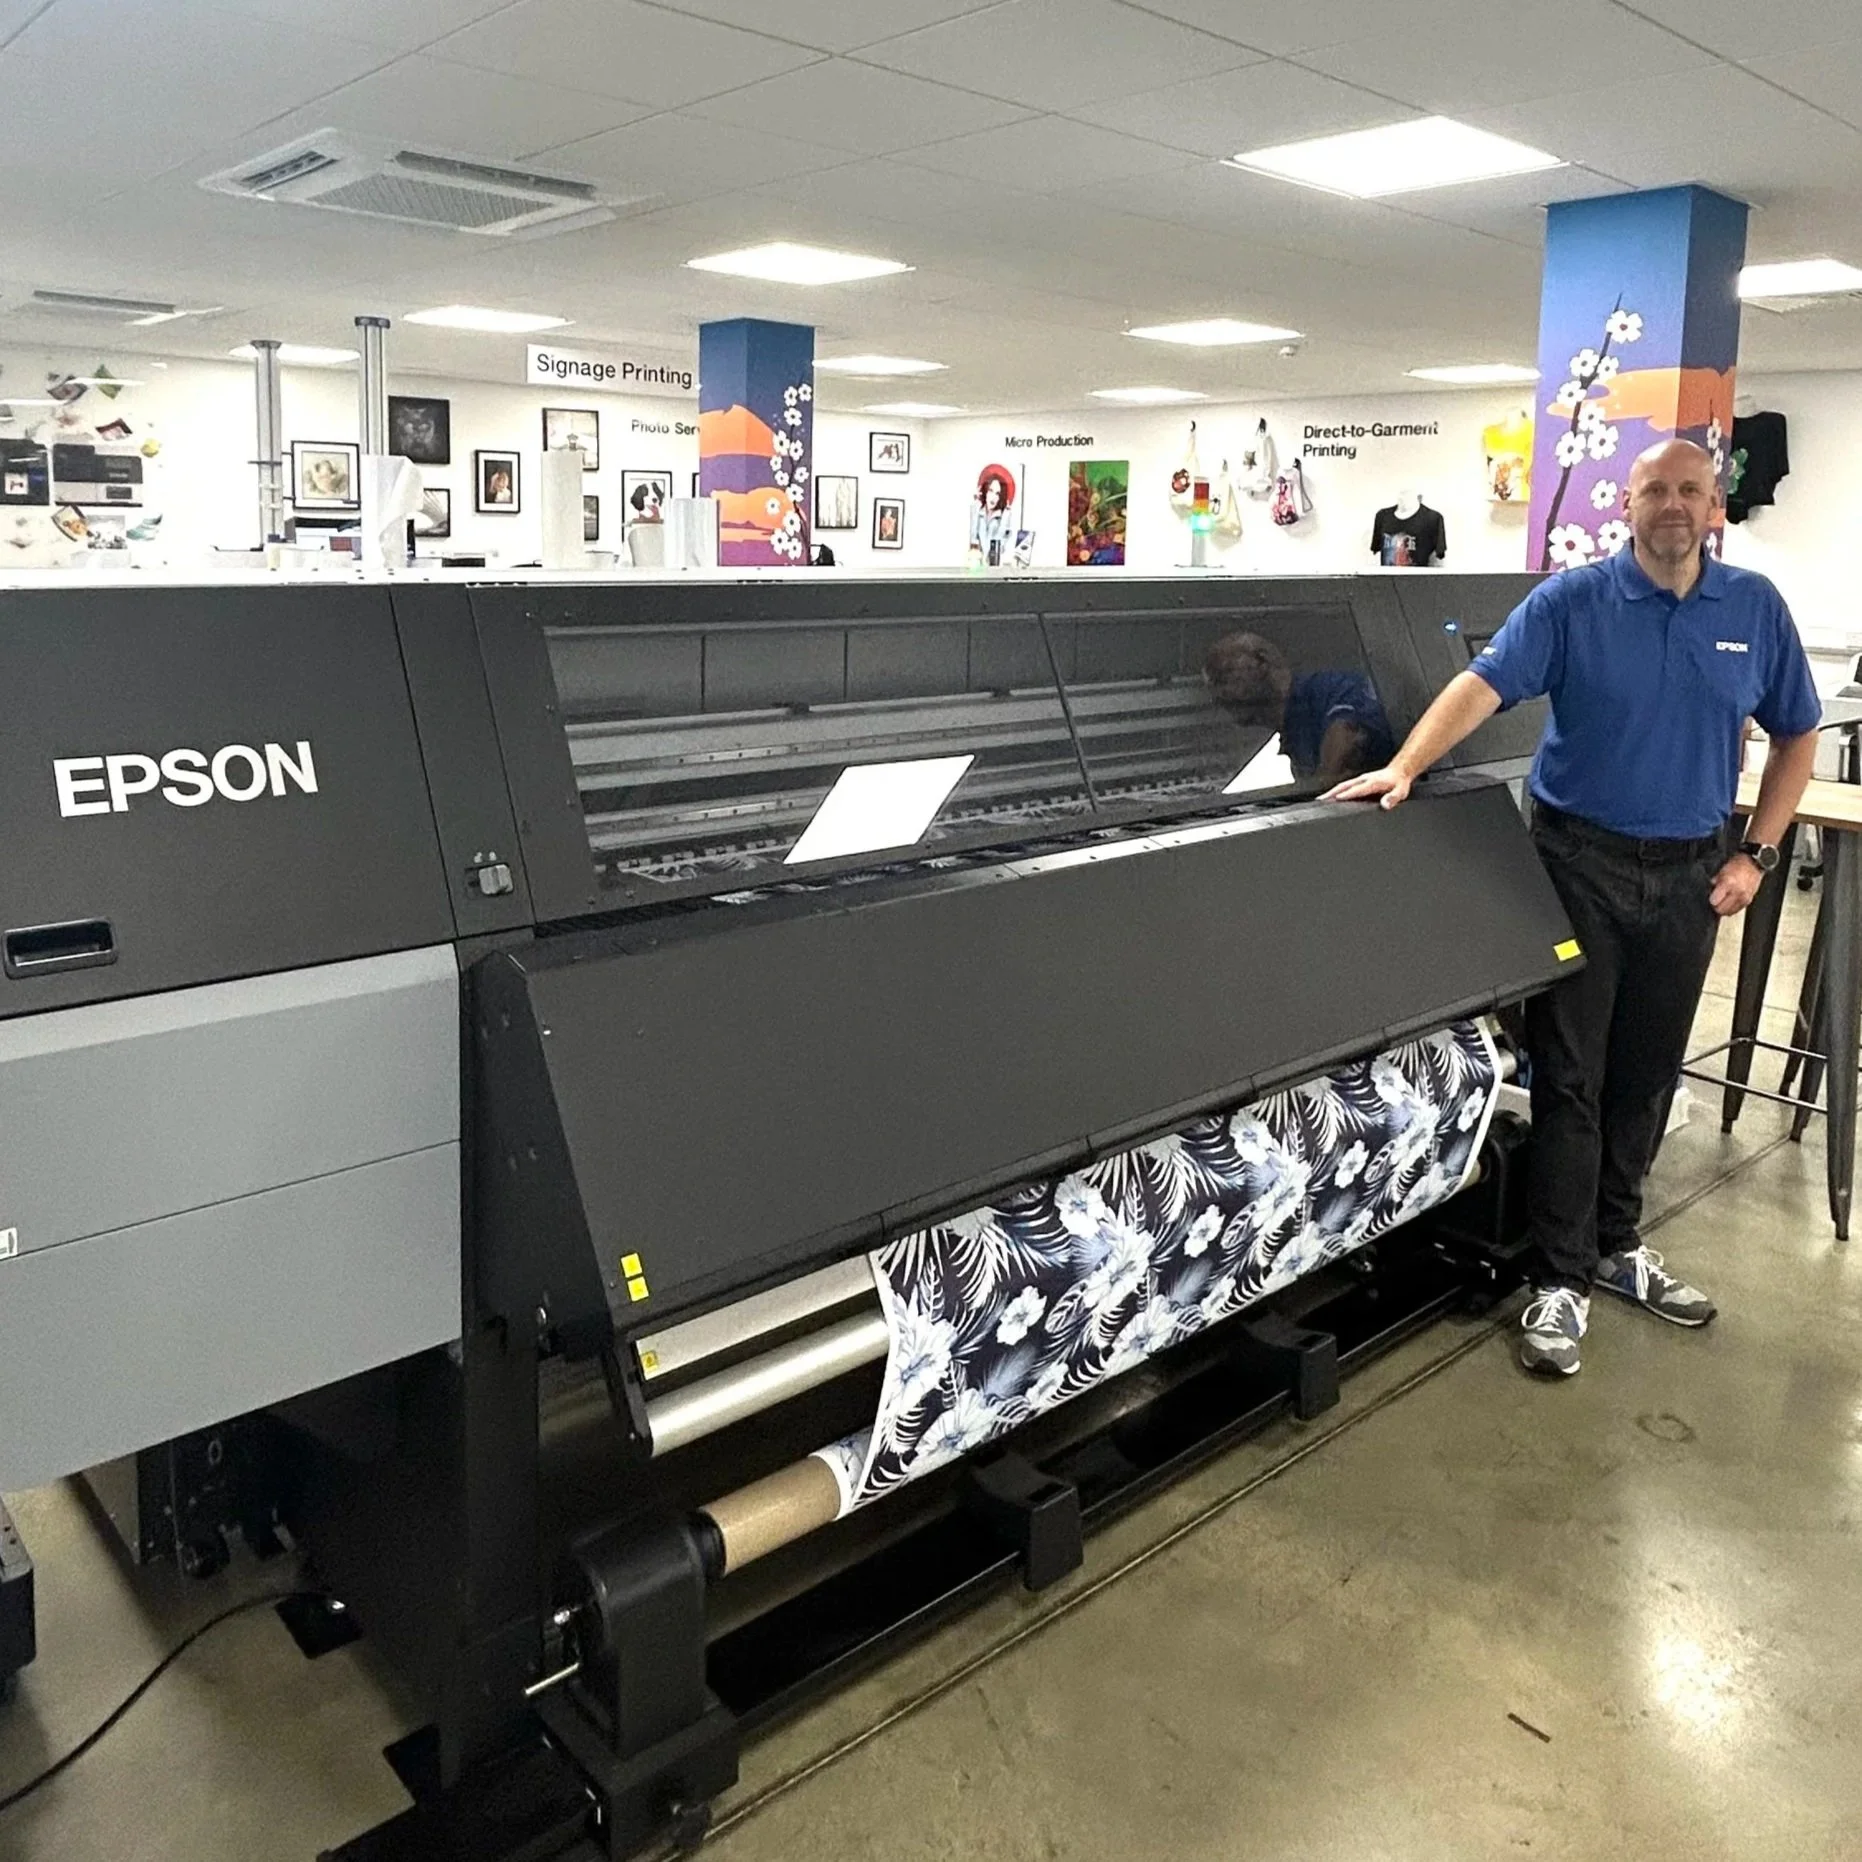
Modern industrial inkjet systems can print designs directly from digital image files onto textiles or transfer media. There is no longer any need to manufacture expensive physical printing cylinders or screens for every individual spot color. Small production runs, rapid sampling, photographic motifs and an enormous range of creative possibilities have all become economically viable. That is tremendous progress.
At the same time, however, the way we handle digital textile design files has also changed. Where color separation was once an essential requirement for production, many designs today can be printed directly from RGB or CMYK image files. For digital printing, this is often perfectly sufficient. But there is a fundamental difference between a finished digital image and a design in which the individual colors can still be controlled independently.
A Beautiful Image Is Not Necessarily a Flexible Design
A digital textile design can look absolutely perfect and still offer very limited possibilities for recoloring.
When all colors, gradients and mixtures have already been combined into a single image layer, every substantial color change becomes another image-editing task. This can be particularly difficult with soft gradients, transparent-looking overlaps and complex mixed colors. Of course, modern tools for automatic color correction and replacement exist. Some of them produce impressive results. But changing colors in a flattened image is not the same as controlling individual, existing color separations.
A professionally separated textile design contains an additional technical structure. Each spot color can be modified independently while preserving its tonal values, gradients and motif details. This makes it possible to develop new colorways in a much more controlled manner.
For fashion brands, home textile manufacturers and other textile producers, this means considerable creative freedom. The same design can be adapted to different collections, target markets, color trends or individual customer requirements without having to recreate the artwork each time. And if the design is later intended for conventional screen or gravure printing, suitable color separations can also provide an important foundation for further prepress work.
Why This Knowledge Has Become Less Common
I don't believe that the knowledge of color separation has disappeared completely. It certainly still exists in specialized companies and among experienced professionals.
But digitalization has meant that many designers rarely encounter traditional spot-color separations in their everyday work. Economic pressures have also changed the way we work. Shorter development cycles, constantly changing collections and the speed of modern supply chains leave little time for elaborate manual preparation.
At the same time, digital printing has made many of these processes unnecessary for immediate production. But that doesn't mean their creative and technical value has disappeared. Quite the opposite. Today, when customization, rapid color variations and flexible production are becoming increasingly important, a professionally separated textile design can offer considerable additional value.
To me, color separation is therefore not an outdated technique. It is a tool that opens up new possibilities even in a fully digital working environment.
CREPARATE – When Creation and Separation Become One Process
Over the years, my experience with both analogue and digital production methods led me to develop my own way of working. The basic idea is quite simple:
Why should a textile design be completed first and then painstakingly separated into individual colors afterwards? Why not integrate color separation into the creative process right from the beginning? This is the principle behind a method I call CREPARATE – a word I created by combining Create and Separate. With CREPARATE, design development and color separation do not happen one after the other. They happen together. That doesn't mean following a rigid technical procedure.
Depending on the design, I work with different creative tools, Photoshop layers, alpha channels, filters and effects. Elements created in other applications can also become part of the artwork. Alpha channels often serve as intermediate stages from which further structures, gradients and color separations can be developed. The creative possibilities remain open.
At the same time, throughout the entire development process, I am already thinking in terms of individual spot colors and how they will overlap.
Real Color Separations Instead of Retouching Colors Afterwards
The finished design consists of editable Photoshop Solid Color Fill Layers, with their masks containing the individual separations. These layers are set to the Multiply blending mode. As a result, the individual spot colors and their tonal values combine to create complex mixed colors and smooth transitions. The principle reflects the way transparent printing inks overlap in conventional screen and gravure printing.
Of course, this alone does not guarantee an exact simulation of the final printed result. That still depends on the printing inks, substrates, color profiles and the production process being used. But the structure of the separations remains intact. Each spot color can be replaced independently without having to recreate the underlying motif or its subtle tonal gradients.
Additional creative effects can be used separately from the actual spot-color separations when needed, for example for specific digital printing applications. The result is a design that not only works visually but is also prepared from the outset for flexible further processing. Color separation is no longer a technical operation carried out after the design is finished. It becomes part of the creative process itself. For me, this is the real connection between the craftsmanship of the analogue era and the possibilities of modern digital image processing.
The Future – Production Knowledge Meets New Technology
When I look back on more than four decades in the textile industry, what impresses me most is how dramatically our tools have changed. What once required large machines, complicated film technology and countless manual operations can now be handled on a computer. And many things that seemed technically impossible back then have become part of everyday life. Nevertheless, I am convinced that good tools alone do not automatically produce good production files.
What matters is understanding what happens to a textile design after the creative work is finished.
How will it repeat? How can its colors be changed precisely? What requirements will the printing process impose? And how can potential production problems be avoided during the design stage itself? These are questions that have accompanied me since my earliest years at Transfertex.Today, I try to bring the answers into modern digital workflows. This philosophy also led me to establish LYTEXA.
The platform combines professionally separated textile designs with the possibility of developing different colorways directly in a web browser before purchasing a license. I also develop Photoshop tools intended to simplify recurring technical tasks in textile design production. My aim is not to bring back the old manual methods exactly as they were. Instead, I want to combine the knowledge behind those methods with the creative freedom and speed of modern technology.
Passing on Experience
Today, at the age of 64, I still enjoy creating textile designs and developing digital tools just as much as I did at the beginning of my career. Perhaps even more. Because the possibilities for turning ideas into reality are greater today than ever before.
At the same time, I would like to pass on some of the knowledge I have gained through more than 40 years of practical experience. Not because everything was better in the past. It certainly wasn't. But because some experiences remain valuable even when the machines, software and production methods have completely changed.
When I started at Transfertex in 1980, I could hardly have imagined the technological possibilities we have today. But one thing has never changed for me: Understanding how a textile design becomes a printed fabric is just as important as creating the design itself.
About the Author
Stephan Alker is a German textile designer with more than 40 years of experience in textile design development, color separation, prepress, print production and quality control.
He is the founder of LYTEXA, a platform for professionally separated textile designs, interactive recoloring and digital tools for textile design and production preparation